Weekly Fuckup: Raspberry Pi Zero 2 W – A Small Wiring Mess with a Big Lesson
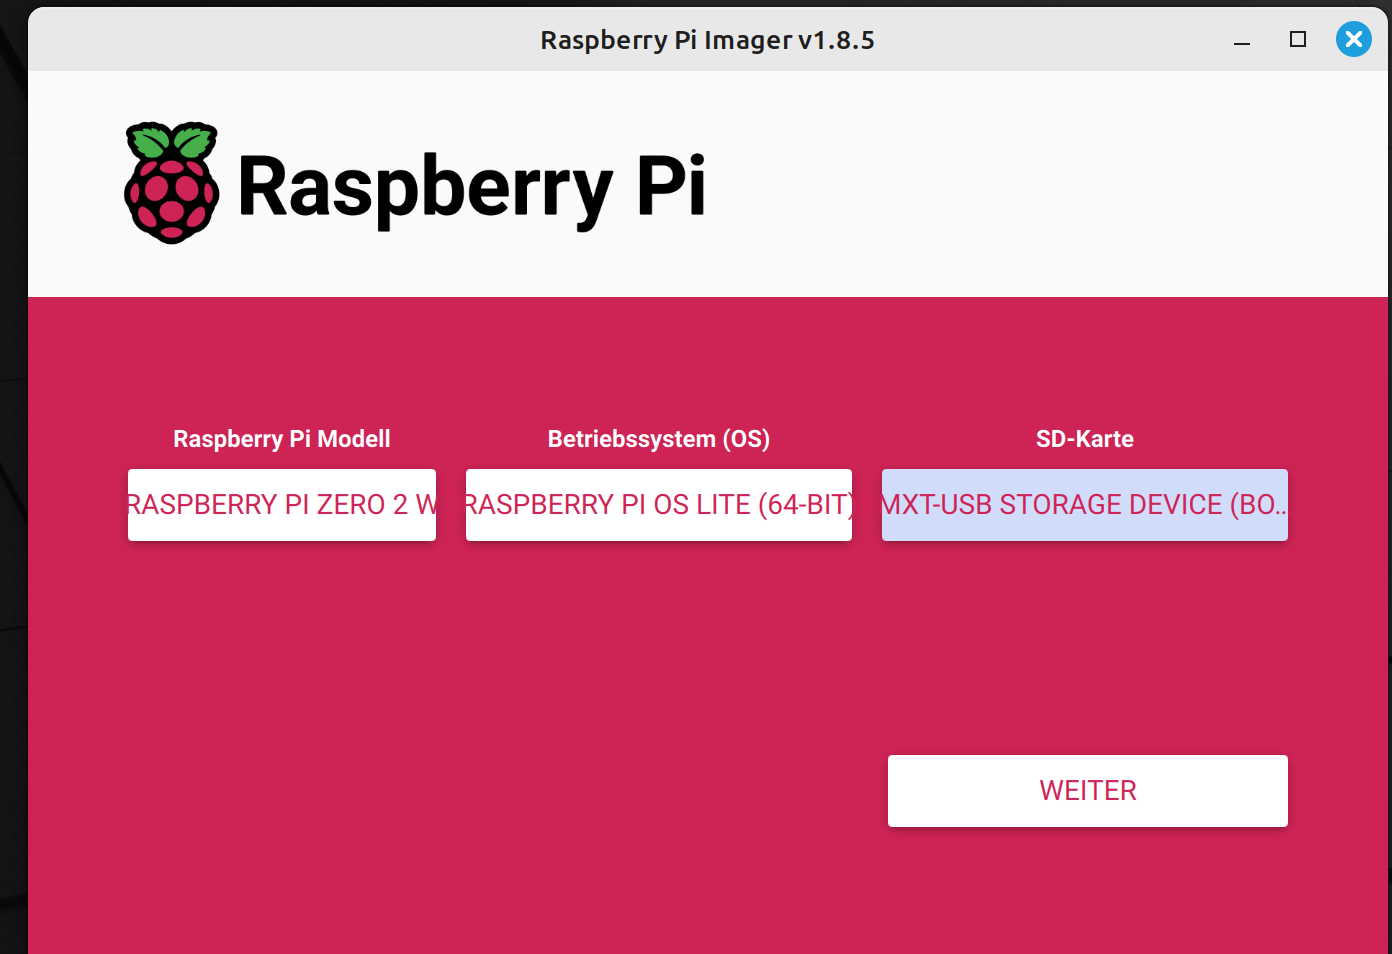
Sometimes, things just seem cursed. You buy yourself a new gadget with all the excitement in the world—like I did with the Raspberry Pi Zero 2 W. This tiny technological marvel was supposed to spark a new project, something cool to tinker with. The plan: quickly flash the Raspberry OS Lite onto an SD card using the official Raspberry Pi Imager and get started. That was the idea, at least.


Well, you know how plans go: they work—until they don't.
The Unpleasant Surprise: USB Adapter Not Working
After the Imager did its job, writing the image to the SD card, I was still in a good mood. But then came the moment of truth: I connected the Pi to my USB adapter and eagerly tried to access it. But nothing. No response. The Pi stayed silent, stubbornly refusing to interact. No access, no interaction—just nothing.
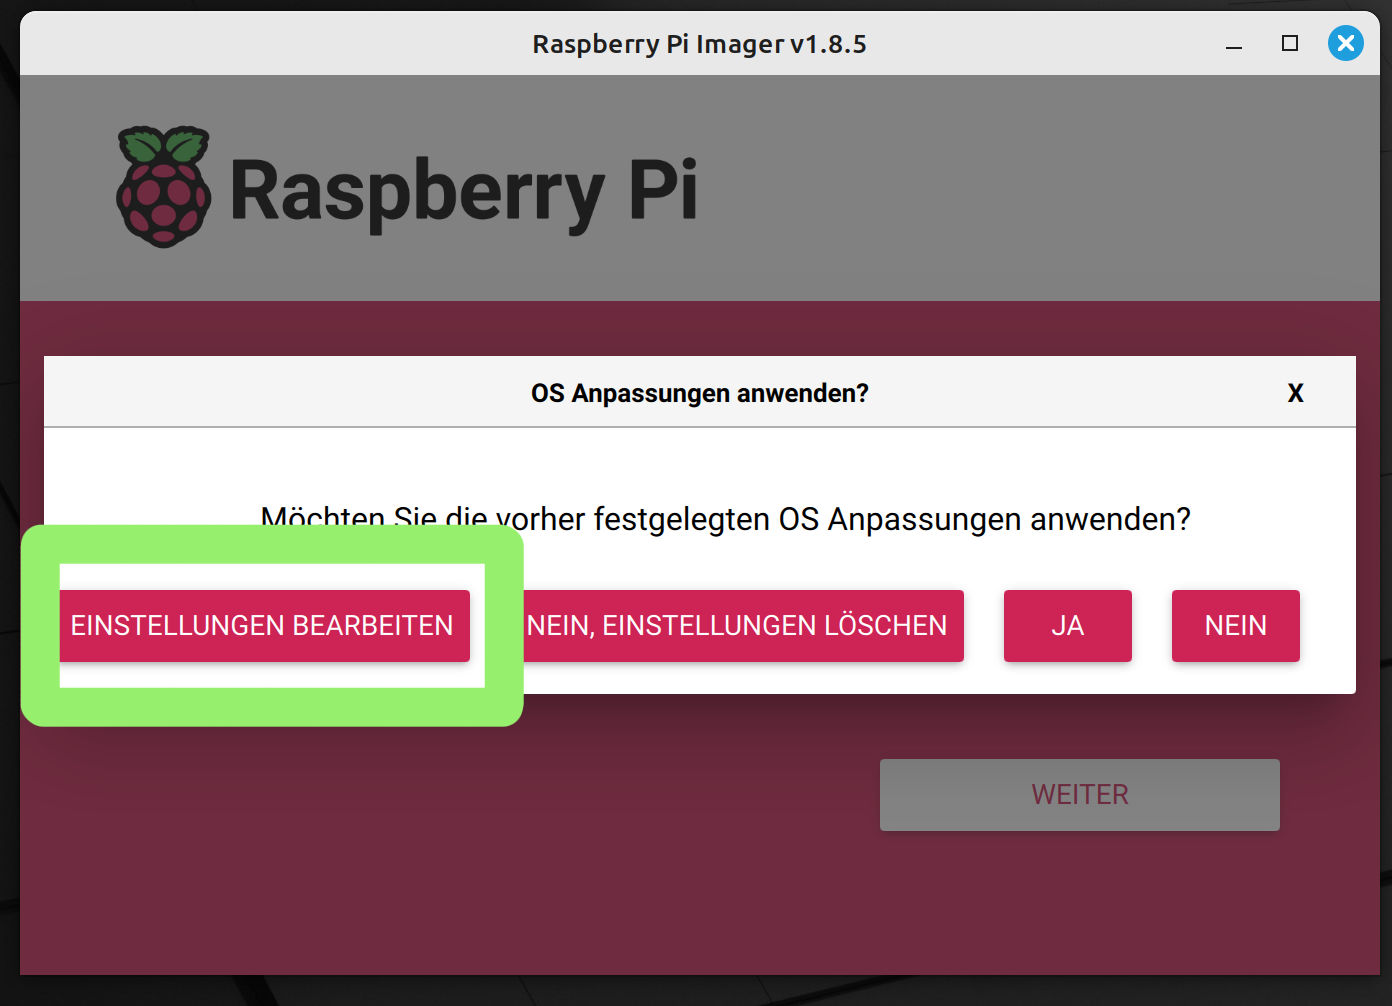
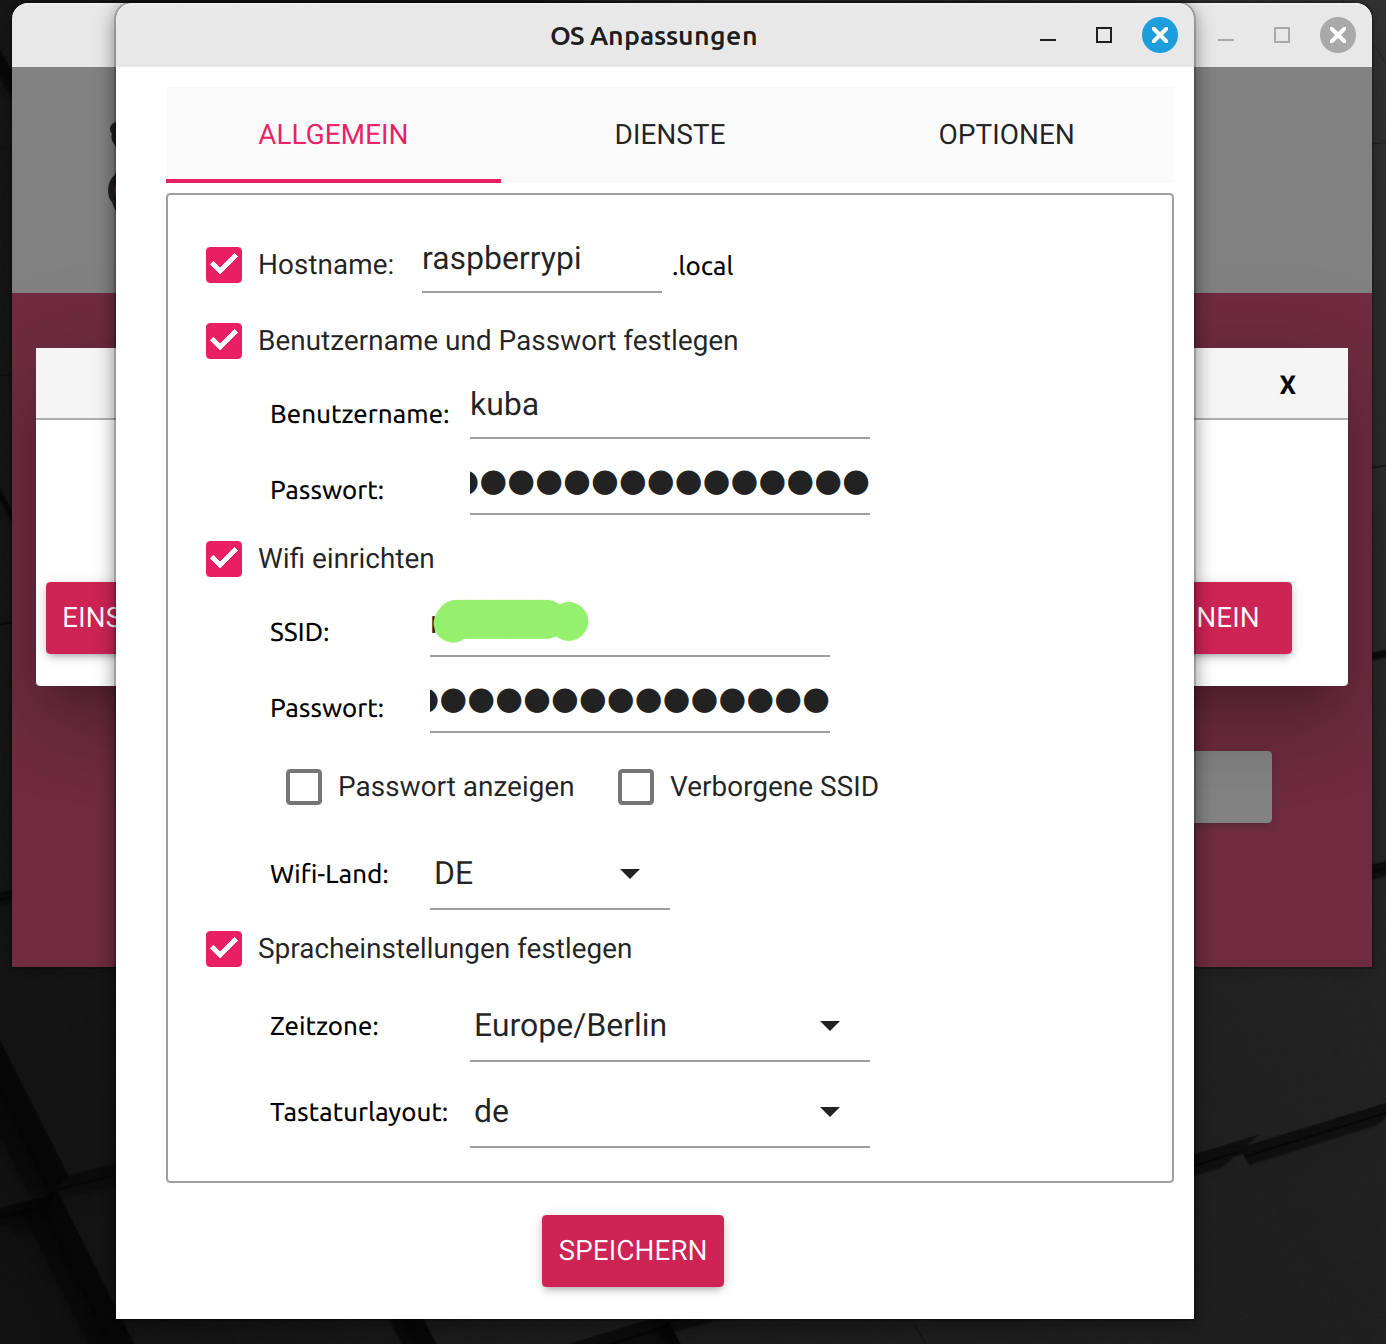
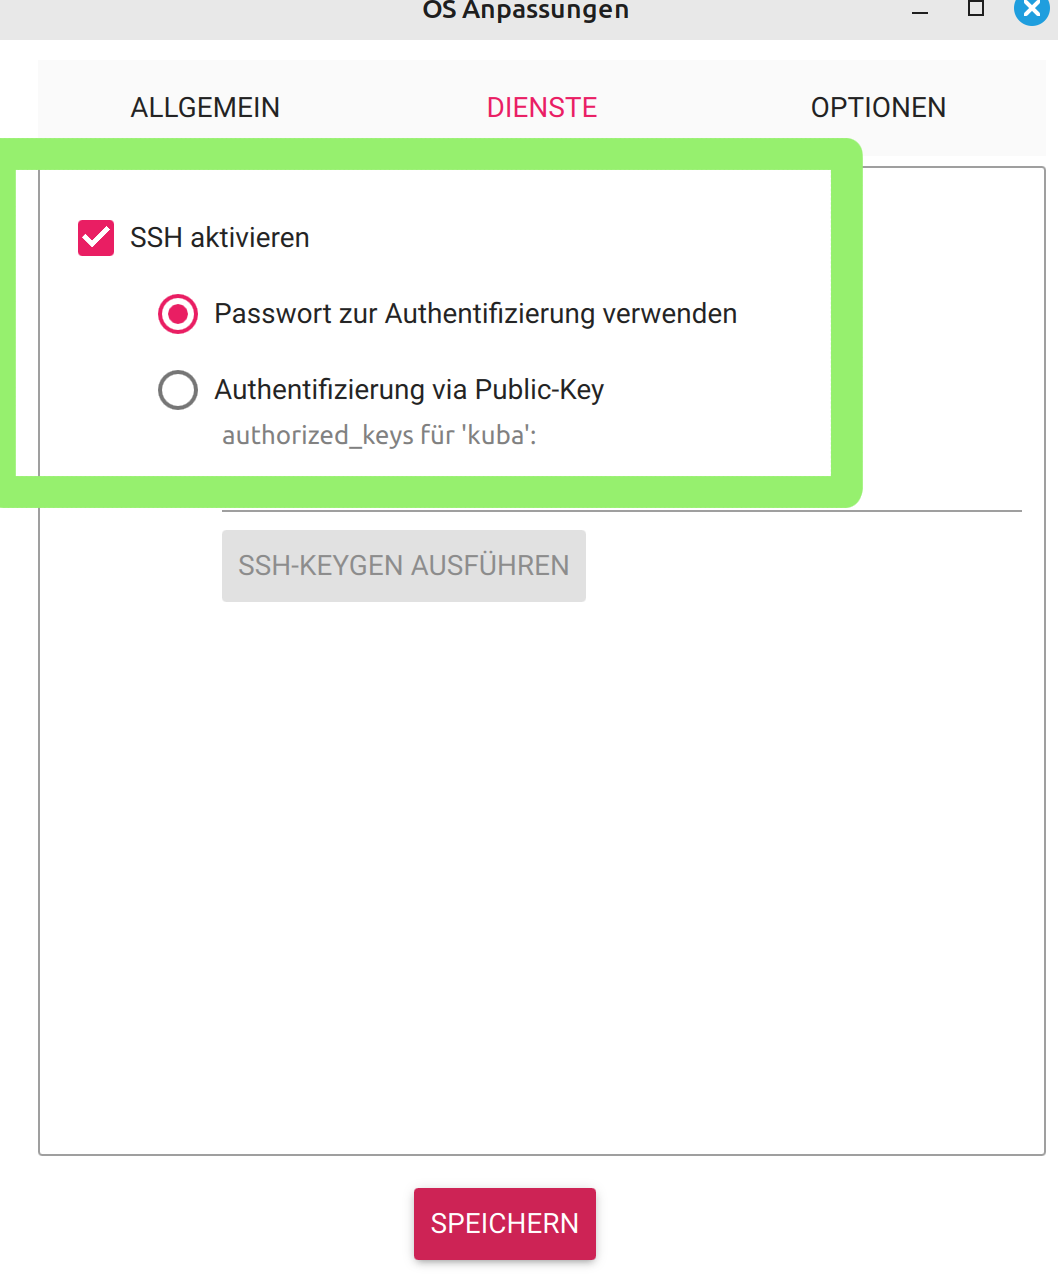
Alright, I thought, no need to panic. So, onto Plan B: quickly SSH into the device. The Imager conveniently lets you enable SSH and even enter the login credentials. This should work, I thought, still optimistic.
Spoiler: It didn't.
The Rocky Road to a Solution: Lots of Swearing, Little Progress
After what felt like a hundred attempts—restarting, switching cables, furiously Googling—still nothing. At some point, it dawned on me: something had to be missing. And so began the classic trial-and-error game. I dove deep into forums, read guides, and scoured blog posts describing similar issues. But everything I tried led nowhere.
Just when I was about to throw the thing out the window, an idea struck me that turned out to be the breakthrough I needed. A glance at the SD card showed me a little file on the boot partition named firstrun.sh. Hmm, I wondered, what's inside that?
The Solution: firstrun.sh – Your New Best Friend
So, I opened the file and found something interesting: network settings. And there it was, the key to the problem. While the Imager offers a nice interface for setting up SSH and entering credentials, something wasn't working properly behind the scenes. So, time to take matters into my own hands!
The trick was simple but effective. Inside the file, there was a section dealing with Wi-Fi. I needed to manually enter my Wi-Fi password. And yes, in plain text. Yep, exactly—directly, unencrypted. Well, whatever, I thought. So I quickly added my credentials, popped the SD card back into the Pi, and…


…like magic: Connection established!
After the next boot, the Raspberry Pi Zero 2 W finally logged into my Wi-Fi network. The SSH connection worked flawlessly, and I could finally access the device.
Conclusion: From Frustration to Progress
In the end, a valuable lesson was learned: Sometimes, you can’t rely entirely on automatic tools. A peek “under the hood” often helps to find the real problem. Had someone told me at the start that I’d have to manually enter my Wi-Fi password unencrypted in a script file, I might have saved myself a few headaches.
So, lesson learned: The Raspberry Pi might be small and temperamental, but with a little detective work, even the most stubborn Zero 2 W can be coaxed into working.
I’m always grateful for feedback. Feel free to send it to jacob@derkuba.de.
Best regards,
Yours, Kuba